
Outpatient Joint Injections: What to Expect Before, During, and After
Image-guided joint injections are among the most common procedures performed in an outpatient setting, and most people are in and out of the clinic in a single morning. Knowing how the visit is structured, from scheduling through the hours that follow, tends to make the day feel far more predictable. This guide walks through the general flow so patients can arrive prepared.
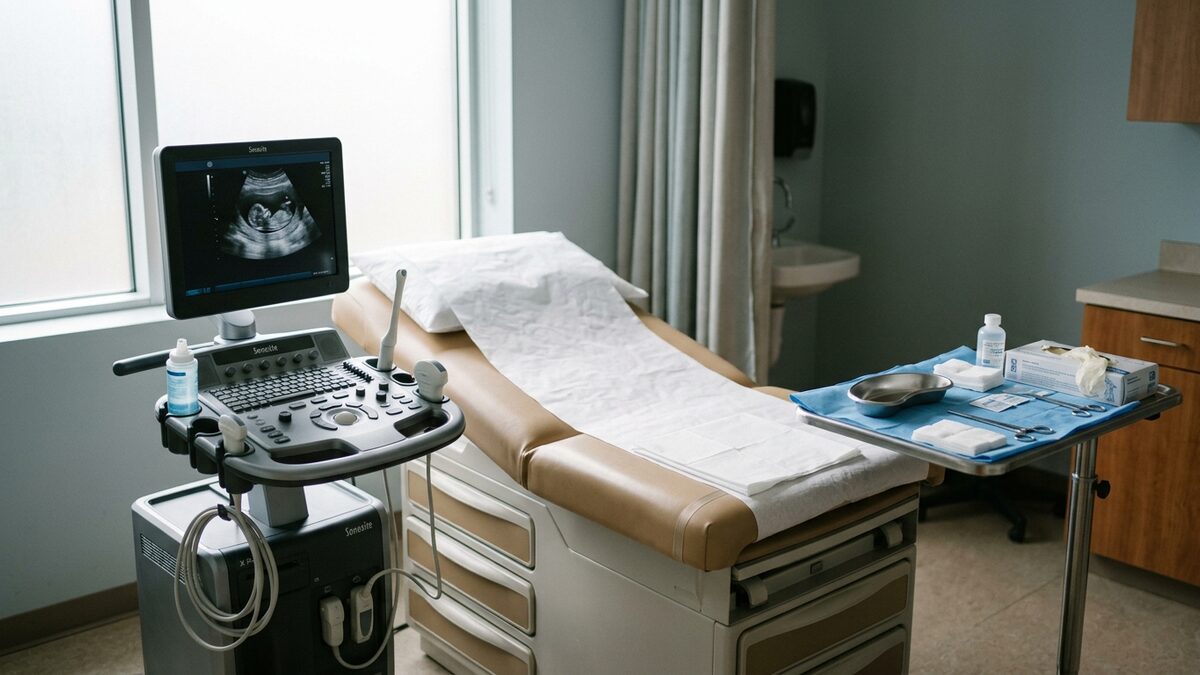
An outpatient joint injection is a procedure in which the clinical team places medication into or around a joint using imaging for precise guidance. The imaging, usually ultrasound or fluoroscopy, helps confirm that the needle reaches the intended space rather than nearby tissue. Because the visit is ambulatory, there is no overnight stay, and patients typically return home the same day with a short set of aftercare instructions.
The reasons a provider may consider an injection vary, and the specifics are always discussed during a consultation beforehand. What follows is a general description of how these visits tend to unfold, not a substitute for the guidance given for your particular situation.
Before the appointment: scheduling and preparation
Preparation usually begins with a short conversation about current medications. Some blood-thinning medications, described by their class rather than any brand, may need to be paused or adjusted for a window before the procedure. This is never something to change independently; the clinical team coordinates any adjustment with the prescribing provider so that other conditions remain managed.
Patients are generally asked to share a full medication list, including over-the-counter products and supplements, along with any history of allergic reactions to contrast agents or local anesthetic. If imaging with contrast is planned, the team may ask about kidney function and prior reactions. Letting the office know about pregnancy, active infection, or poorly controlled blood sugar is also important, because any of these may change the timing or approach.
Logistics matter too. Because some injections can cause temporary weakness or numbness near the treated area, arranging a ride home is often recommended, particularly for procedures involving the lower limbs or spine-adjacent joints. Loose, easy-to-adjust clothing makes positioning simpler. Most patients can eat normally beforehand unless told otherwise, though those receiving any form of sedation will receive specific fasting instructions.
It helps to write down questions in advance. Reasonable topics include what the injection is intended to address, what sensations to expect, how long any relief typically lasts, and what the plan is if symptoms return. Patients who respond well to an initial injection sometimes discuss a schedule for future visits, but that is decided case by case.
The day of, and the recovery that follows
On arrival, the team confirms identity, reviews the consent form, and answers remaining questions. Vital signs are checked, and the skin over the target joint is cleaned. Positioning depends on the joint involved: some injections are done seated, others lying face down or to the side. The goal is a stable, comfortable position the patient can hold for a few minutes.
A local anesthetic is usually applied first, which produces a brief stinging sensation. Under imaging guidance, the needle is then advanced toward the joint. Many patients describe pressure rather than sharp pain during this step. If contrast is used, a small amount confirms correct placement before the medication is delivered. The active portion of the procedure is often shorter than the setup, frequently just a few minutes.
Afterward, patients rest briefly while the team observes for any immediate reaction. A small bandage covers the site. Some people notice near-immediate change if a local anesthetic was included, while any longer-acting medication, such as a corticosteroid, may take several days to reach its effect. A temporary increase in discomfort during the first day or two is common and usually settles on its own.
Typical home guidance includes keeping the area clean and dry for a short period, applying ice for comfort, and avoiding strenuous loading of the joint for the rest of the day. Gentle movement is generally encouraged rather than complete rest, unless the team advises otherwise. Warning signs that warrant a call to the office include spreading redness, fever, drainage from the site, or numbness that does not resolve within the expected window.
Follow-up varies. Some patients return for a check on how the joint has responded; others simply report back by phone. Documenting how symptoms change over the following days, including any relief and how long it lasts, gives the clinical team useful information for planning next steps. If an injection provides limited or short-lived benefit, that result is itself informative and helps guide the broader treatment plan.
Outpatient joint injections are designed to be efficient and low-disruption, and understanding the sequence tends to ease much of the uncertainty. The most reliable preparation is an honest conversation with the clinical team about your medications, your history, and your goals for the visit.
This article is informational and is not medical advice. Treatment options should always be made in consultation with a qualified physician.